Showing posts with label DIY. Show all posts

Sunday, June 17, 2012

Mini Booklet Father's Day Card Thing

After my Dad's latest birthday, he informed me that he always looks forward to receiving my cards. (I usually hand make cards for my closet relative's birthdays and other occasions.)  Ever since learning of this, I have been a little anxious, like, I have to produce now!  I can't just fold a piece of card stock in half, scribble a note inside, and then mail it out.  I have to make something that demonstrates thought and creativity...

Luckily,  I was able to pull inspiration from my wedding programs that I had just made a few months ago.


A hardcover booklet with pages sewn in with DMC floss.  Here is the original tutorial, filled with super helpful directions.

Anyway! Since I had all the supplies in stock, I thought I'd turn this lil' book into some cards for Father's Day (and a few upcoming birthdays).


I incorporated stamped leather pieces onto the front of 2 cards.  All of the cards have little stamped leather tag/charm things hanging from the spine.

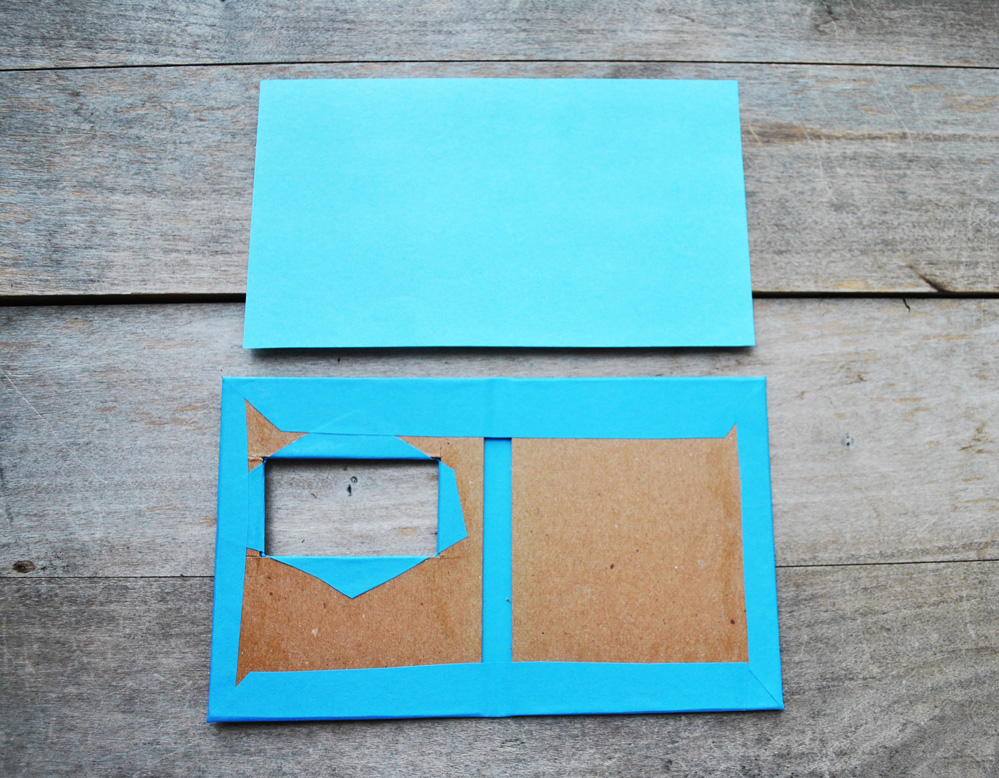
For the Father's Day card, I cut a window out of the cover so the leather could recess into the card and lay flush with the outside.


With my wedding only a little more than a month ago, I'm a little spent when it comes to super sentimental card fodder for my Dad.  I've already said every mushy thing that I have ever wanted to say to him, so I thought I'd approach this Father's Day card with a little humor.


Empty book awaiting the pages to be sewn in.  As this was technically a greeting card, I only sewed in a few pages.  A hardcover 'book' is probably a little overkill for a simple greeting card, but regardless, it was in my little heart to do so!


I used E-6000 to glue the leather panel into the book.  I had to stamp this numerous times, because I kept cutting the little rectangle so that it was too small and there were air gaps around the edge. I couldn't cut it first, and then stamp it, because the leather shape could have changed a little as I stamped it. Oh well. It's done! :)


After I sewed in the pages, I attached a little leather tag with the year stamp onto it.  The other cards I made also include a tag with a heart on it, but I didn't think Dad would care for that.


Finished product!  Needless to say, this thick "card" can't be mailed in a regular envelope.  Bubble mailer it is!


 The next page has a little message and my personal note.


After I started the Father's Day card, I realized, "Wow. This is going to be a pretty time consuming, involved project.  I might as well make a few cards since I have everything out."  So I made 3 birthday cards in addition to the Father's Day card: for Mom (Mimmy), Stepmom, and Grandad.


 Now, to get thinking about Father's Day 2013!  ><

Monday, June 4, 2012

Wedding Card Album

I finally made something I discovered on Pinterest! While still in the planning stages of our wedding, I came across Something Turquoise's Card Album.  I thought it was an adorable and simple way to keep wedding cards together, and I was so excited to make one for us after the wedding.


Before our wedding we only received 2 wedding-related cards.  Because I was planning to make this card album after the wedding, I was a little worried that I wouldn't have any cards to put in it!  We didn't register anywhere, so I really didn't expect to get any gifts, and I couldn't request that people get us a greeting card just so I could put it in an album.  :)  Luckily, we got the perfect amount of cards on our wedding day, so the 'card album' is holding more than 2 cards.

The supplies I needed to buy for this card album project were minimal - the only things I didn't have in stock were the metal book ring, the 3D letters for the cover, and the brads to keep the ribbon attached to the book.


After creating my card album, I still have a whole pack of book rings, a pack of swirly glitter brads, a mostly-complete pack of metallic silver letters, and a spool of thick light blue satin ribbon.  If anyone has a need for these items I listed (even just the small quantity required to make the card album) let me know and I can help you out for the cost of shipping.  This stuff is just taking up space in my apartment. ><

I would say the card album I made is a simplified version of original card album made by Something Turquoise.  The only decoration I added on the cover besides the single color of paper is a few thick stickers that I glued on with E-6000 (the stickers didn't seem very sticky, so I glued them).  I used a glue stick (instead of glue dots) to cover the tag board (originally the back of a pad of drawing paper) with scrapbooking paper.


Since I didn't have any cute wedding or love-related charms to attach to the book ring, I made a few of my own out of leather.  One leather tag/charm thing is stamped with our monogram, while the other is stamped with our wedding date.


The tag board that I used for the front and back cover was too thick for me to punch a hole with my lil' paper hole puncher.  I had to use my hammer and a small leather hole punch to get through the covers. I glued a spare wedding invitation to the inside front cover to provide more info to the album (for future generations to enjoy, of course!).


To make the holes for the brads to go through the thick tag board, I had to return to the hammer + leather-hole-punch method.


Maybe I'll make one of these for all the cards we receive in a year.  The only cards we'll be getting for the rest of our lives will be a few birthday and Christmas cards, so a year's worth should fit in one album just fine...or maybe make an album for only the cards that hold more than just a person's signed name, like a handwritten message or note...I need to think on this one some more.  :)


Wednesday, June 22, 2011

Banner Greeting Card

I am definitely one who prefers to make a card instead of buying one.  I'd rather just not give a card than buy one at the store.  My need to create my own greeting cards stems from my late grandmother's influence on my crafting "career".   As far back as I can remember she would make cards for everyone in our family for their birthdays, Christmas, etc.  As a youngling, I would sit on her bed with her and make my own cards.  She had more pure creative talent in her pinky finger than I have in my whole body, so I was lucky to have her as an onsite consultant to assist in my card-making endeavors.

I've found that creating greeting cards is a nice creative hobby because you get to give them away.  You aren't stuck with another useless art project sitting around your house. (Or maybe that's just me...)

This past Father's Day I made my dear 'ole Dad this "bunting"-inspired banner card.  I recently discovered mini buntings and am kind of obsessed with them.


 I was on a roll after I made this, so I also made a "Happy Birthday" banner card for my Mom and also for my Step-Mom.


I was recently involved in a very large move and I only packed the absolute bare necessities when it came to my art supplies.  Therefore, I really don't have that much to work with, which I suppose is good if you'd like to recreate this card. 

Supplies:

-a blank card/envelope
-parchment paper (for the little triangle pennants) 
-thick black thread
-black acrylic paint
-black ink pad
-gel ink pen
-glue stick


To begin, I watered down a little black paint in a bowl, and then used my fingers to flick the paint all over the card.   I then cut little triangles out of the parchment paper and rubbed the ink pad along the edges to give them a little more detail.  Using the gel pen I wrote a letter on each triangle.  Lastly, I glued the lil' triangles onto the card, making sure that the black thread made it underneath so the pennants had something to hang on.


Now I just need another holiday/birthday so I can make more cute little buntings/banners/pennants. :)  Maybe I could just string them across my kitchen cabinets...

Related Posts Plugin for WordPress, Blogger...